How to Set Up a Site-to-Site Connection with APN
How to Connect to Athorio Private Network (APN)
APN (Athorio Private Network) is a VPC-like private network that provides each project created in Athorio with its own /16 subnet. This allows you to place your virtual machines in a secure and isolated environment. In this tutorial, we will guide you through the steps to connect to the APN using WireGuard.
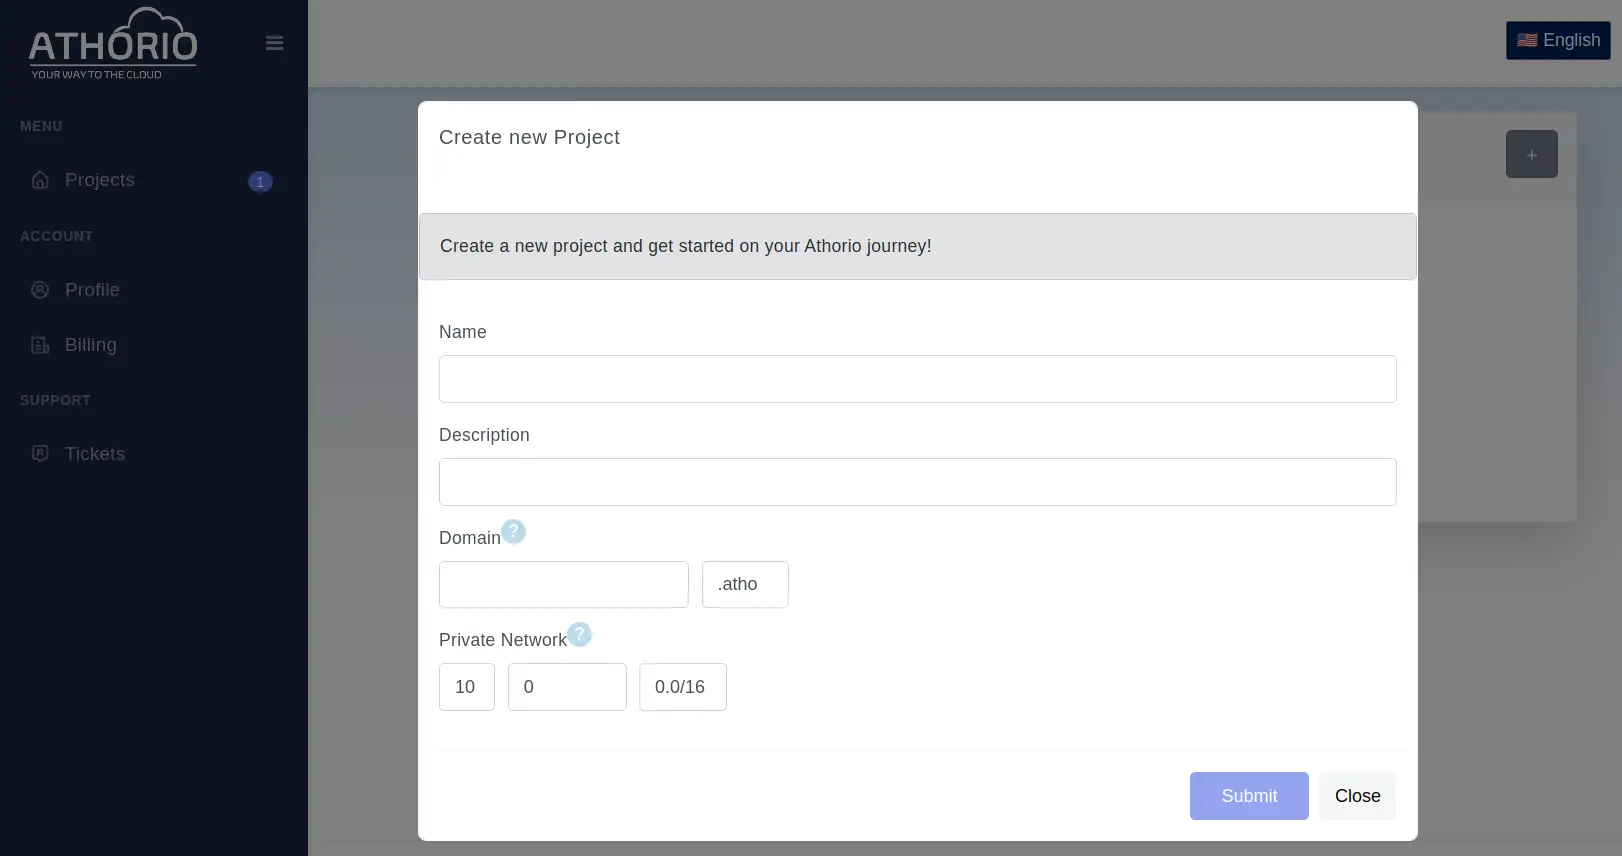
Step 1: Create a Project in Athorio
- Log in to your Athorio account.
- Navigate to the projects section and click on "Create Project".
- Fill in the required details and click "Create".
Step 2: Install WireGuard on Your Device
For Windows and Mac:
- Download and install the WireGuard client from the official website.
For Linux:
- Install WireGuard using your distribution's package manager. For example, on Ubuntu, you would run:
sudo apt-get update
sudo apt-get install wireguard
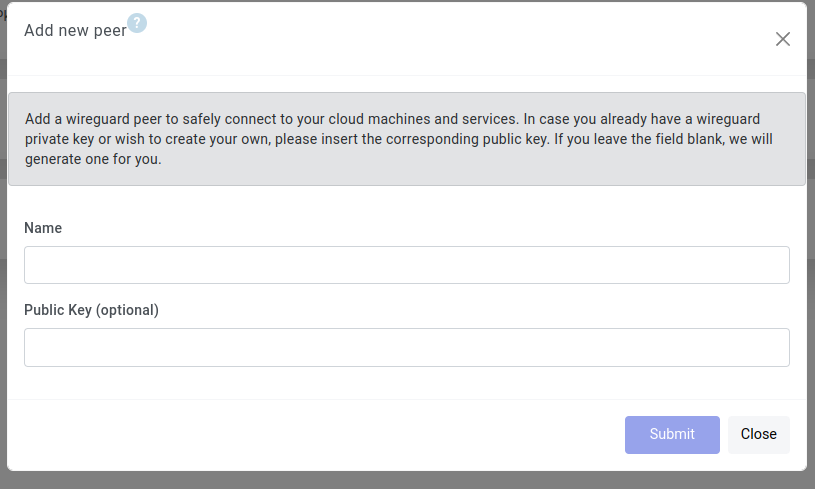
Step 3: Add your Public Key to WireGuard Clients in Athorio
- Navigate to the "VPN" tab and select the "WireGuard" section.
- Click on the "Add Client" button (represented by a plus icon).
- Enter a name for your client and paste your public key in the designated field.
- Click "Save" to generate the WireGuard configuration file.
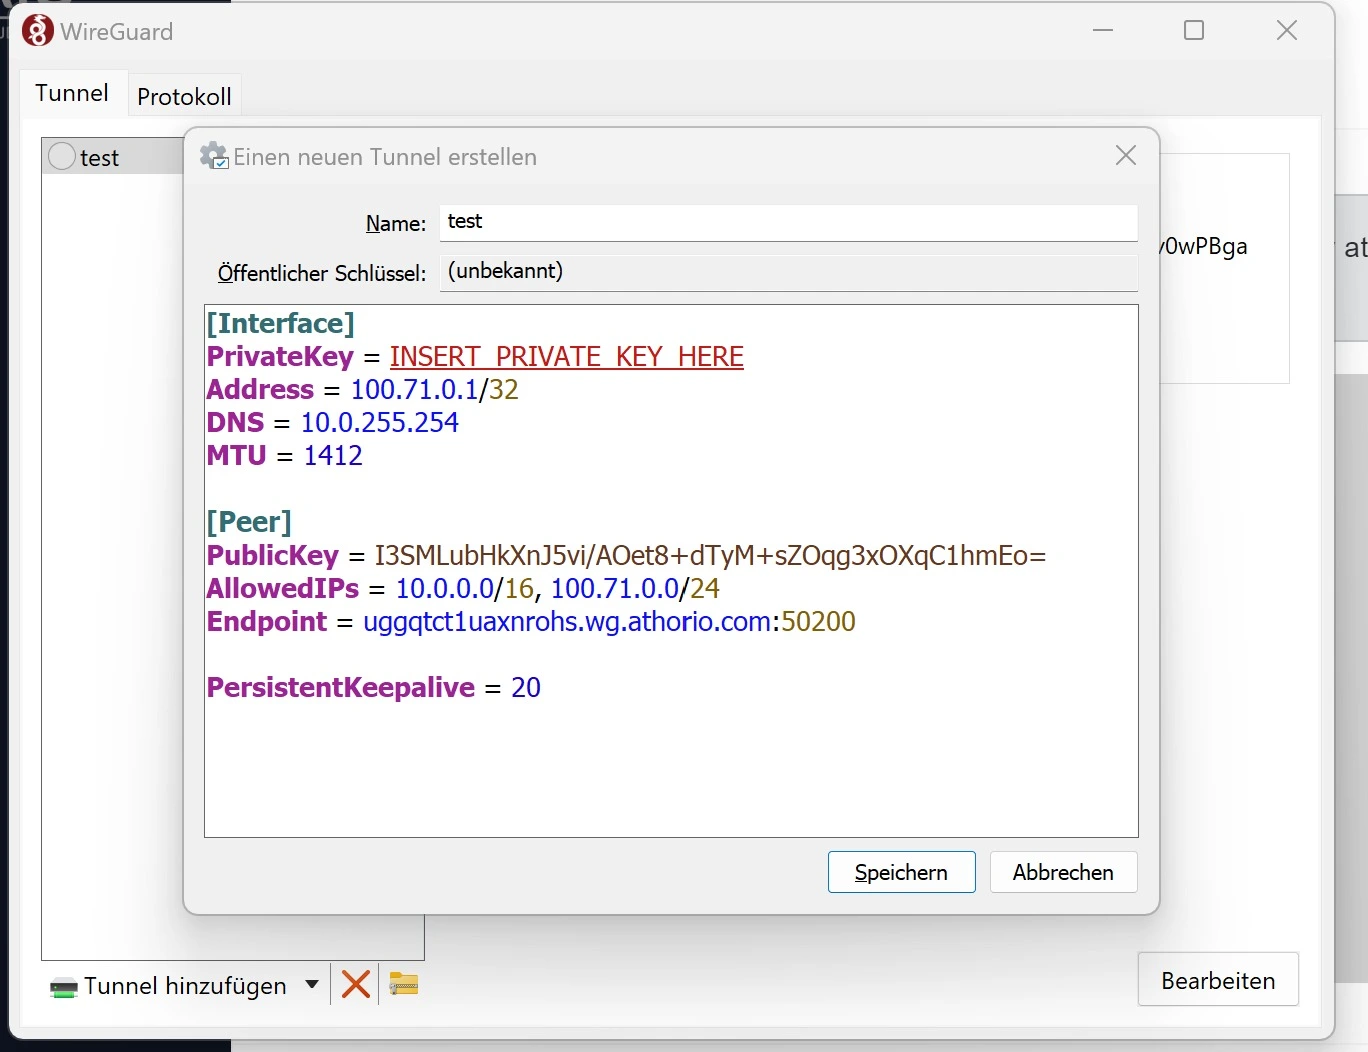
Step 4: Insert your Private Key into the Configuration:
In the configuration file you downloaded from Athorio, you will notice a line that reads:
PrivateKey = INSERT_PRIVATE_KEY_HERE
This is a placeholder for your actual private key. Before you can use this configuration, you need to replace INSERT_PRIVATE_KEY_HERE with your genuine private key.
What is a Private Key?
A private key is a secret alphanumeric code that is used in conjunction with a public key to establish encrypted communications. It's crucial to keep your private key confidential. Sharing your private key can compromise the security of your connection.
How to Replace the Placeholder:
- Open the configuration file in a text editor of your choice.
- Locate the line
PrivateKey = INSERT_PRIVATE_KEY_HERE. - Replace
INSERT_PRIVATE_KEY_HEREwith your actual private key. Ensure that there are no extra spaces or characters. - Save the changes to the configuration file.
Once you've replaced the placeholder with your private key, you can proceed to establish a connection using the WireGuard client.
Remember, always keep your private key confidential and never share it with anyone.
Step 5: Install your WireGuard Configuration
For Windows and Mac:
- Open the WireGuard client and click on "Add Tunnel".
- Select "Import tunnel(s) from file" and choose the configuration file you downloaded from Athorio.
- Click "Activate" to connect to the APN.
For Linux:
- Save the configuration file you downloaded from Athorio to your device.
- Run the following command to bring up the WireGuard tunnel:
sudo wg-quick up /path/to/your/config/file
- Run the following command to bring down the WireGuard tunnel:
sudo wg-quick down /path/to/your/config/file
Step 6: Verify the Connection
- Run the following command to check the status of your WireGuard tunnel:
sudo wg
- Ping a virtual machine within your APN to verify the connection. Replace
VM_IP_ADDRESSwith the private IP address of your virtual machine:
ping VM_IP_ADDRESS
If you receive a response, then your connection to the APN is successful.
Discover more in our tutorials
Browse through our selection of popular tutorials and discover new insights and tips.