Start a Cloud Project!
Start your first cloud project!
Hi! Ready to get started your first cloud project at Athorio? Great read along!
The breakdown into different projects is important to manage your infrastructures more easily, thus facilitating the overall management. With Athorio you'll have a set of tools to manage your users, quota options and billing with precision and flexibility.
In addition, you can also create multiple projects to customize your infrastructures to meet your business needs.
This guide will take you through the steps of creating your first Public Cloud project.
Creating a project is the first step in deploying Public Cloud instances.
Requirements
- Access to the Athorio Control Panel
Instructions
To begin, log in to the Athorio Control Panel. Click Projects in the navigation bar on the left of the screen. Once in the Projects space, click the + button on the upper right.
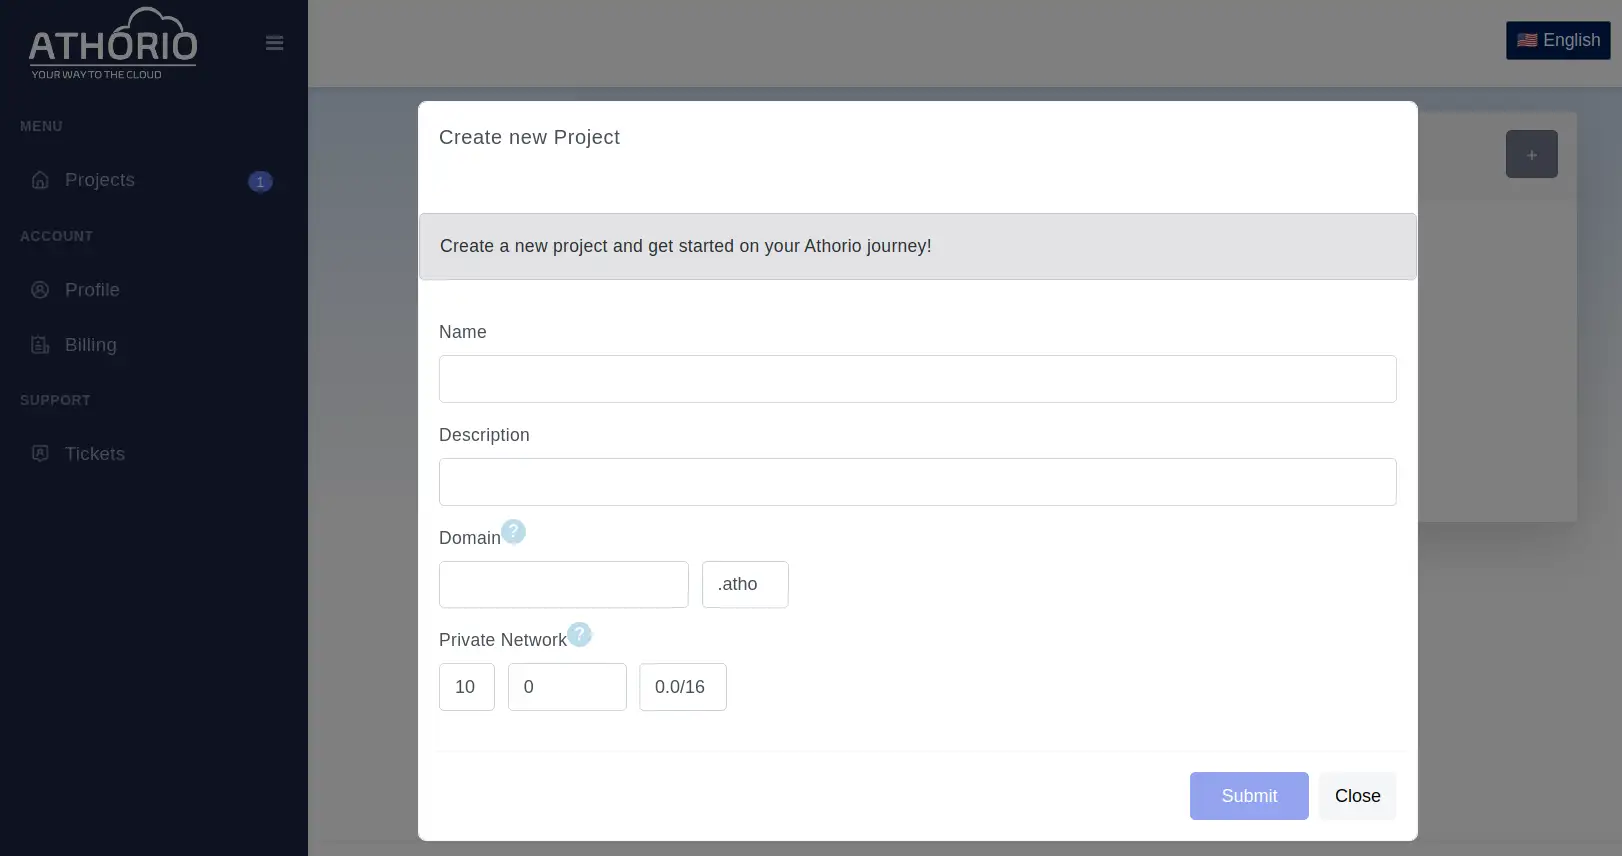
On the "Create new Project" page, enter a title for your project in the Name field. You can also enter a Description of the project for documentation. All Athorio Cloud projects come with a private network where all cloud resources are connect. You can choose your network here. e.g. 10.0.0.0/16. Each project also has a private DNS server, enabling you to communicate to servers by hostname, with the chosen domain name. e.g. host1.project.atho
Finally click the Submit button to proceed creating the project.
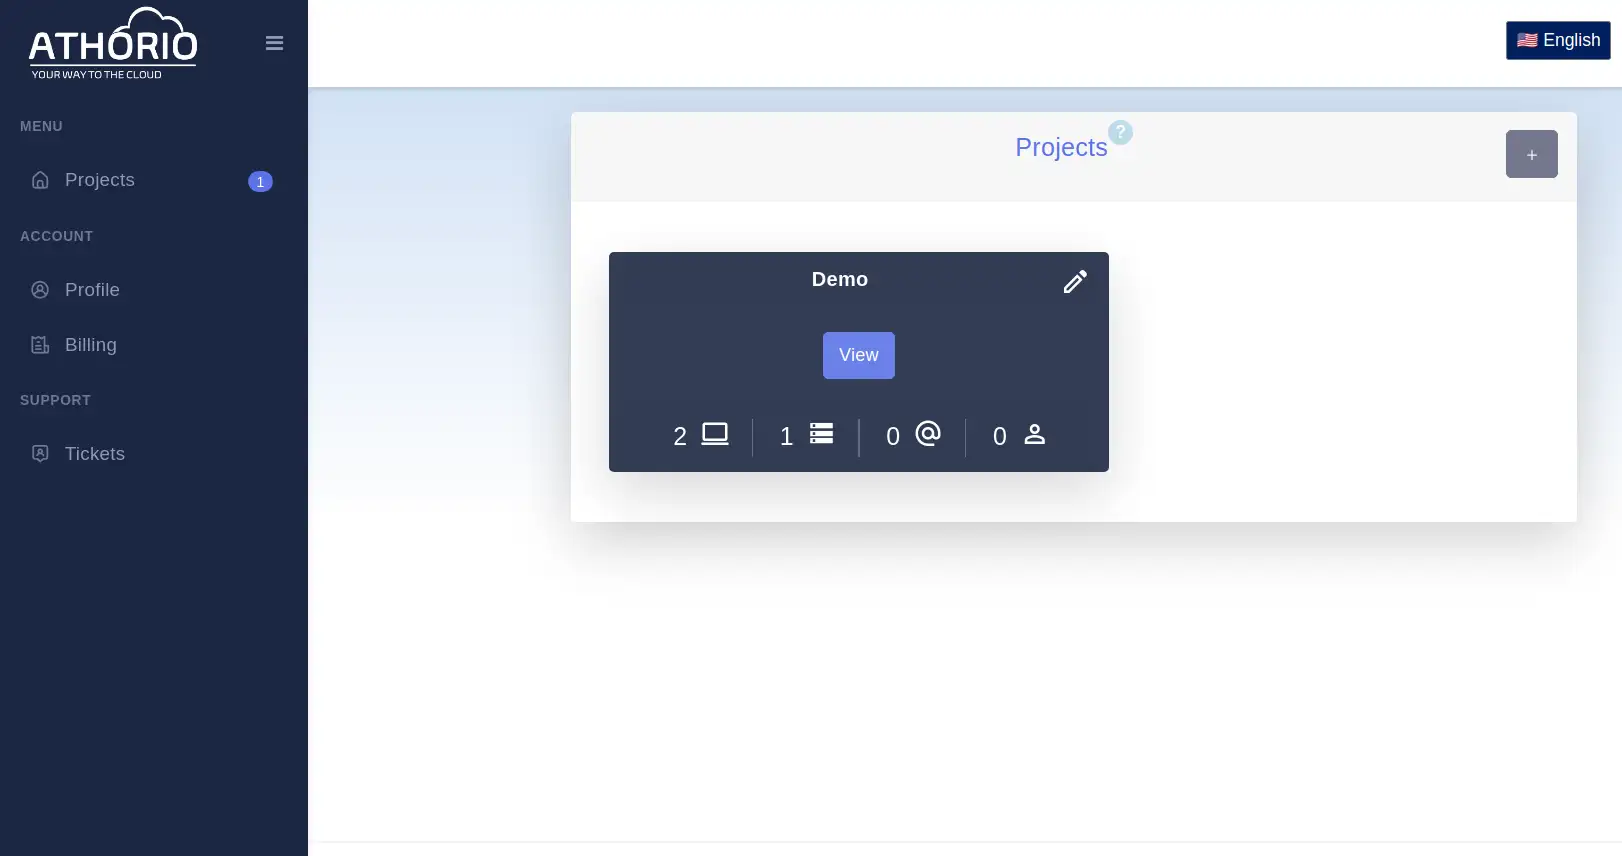
Upon submission the new project is listed in the overview. Click the View button to start deploying cloud instances. you can find instructions at Deploy Public Cloud instances.
Discover more in our tutorials
Browse through our selection of popular tutorials and discover new insights and tips.